Category Archives: Recipe

Recipe: Healthy Garbage Smoothies

So Future Foodie is like the weather lately with her eating habits.  One day, she LOVES broccoli. The next day, it’s like I’m making her eat dirt.  So…it’s been “fun” having our nightly family dinner together lately.  But it has forced me to be a little bit more creative in how I can get nutrients into that little body of hers.  So I started making smoothies and literally threw in anything nutritious into the mix to see if she would drink it.  Hallelujah! She downs them like it’s her job.

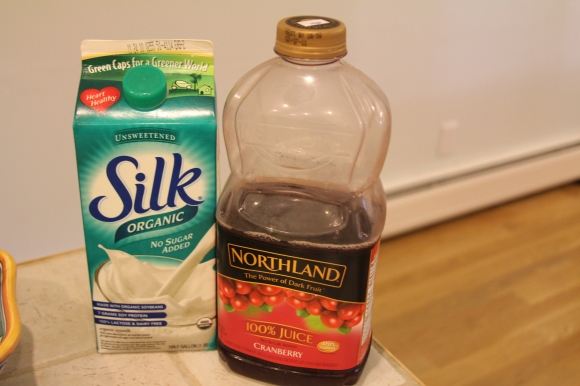
To make the smoothie, I start with a bullet. I throw in a whole banana, any other fruit we have in the house (apples, pears, grapes, frozen blackberries, cantaloupe, etc.), a tablespoon of ground up  (omega-3’s), a heaping tablespoon of our homemade yogurt, lots of soy milk, and some Cranberry juice. I also add in SPINACH! or BEETS! She doesn’t even notice, it is so awesome. Anyway, I blend it all up and say “Bon appetit” to Future Foodie.  It’s great.  But I’m sure, just like the weather, she will soon stop drinking even these.

Tagged , , , ,

Recipe: Homemade Yogurt

J’s family takes its Labne or Lebanese yogurt as I like to call it, very seriously.  It’s a staple in their diet and his entire family makes their own batches of yogurt.  They all use the same yogurt culture that has been passed from family member to family member.  The culture originated with J’s grandmother, Alice, who while alive, was a fabulous cook.  The family still talks about her food.  Each Sunday evening, she would have the entire family over, anywhere between 15 – 30 people at her house and she would cook enough food to feed ALL of them.  Amazing. Takes my breath away just thinking about it.  J still makes the yogurt and he eats it every morning (with granola) for breakfast.  We wanted to share the recipe.

Ingredients

Half a gallon of whole organic milk

Half a cup of yogurt with live cultures

A cheesecloth

Instructions

In a pot, heat the milk over low heat until it reaches 180 degrees.  Make sure to check it often so that it doesn’t burn.

Take the pot off the heat and let the temperature go down to approximately 130 degrees. An aside, J’s grandmother would use her “10 second” rule of putting her finger in the milk until she could hold her finger in there for 10 seconds.  We don’t really use this pseudo masochistic way of testing the milk and use a thermometer instead.

Once the milk has reached 130 degrees, you temper the yogurt by adding one tablespoon at a time of the hot milk to the yogurt (only about a half a cup of milk is needed to do this).  This prevents the culture from being shocked (by the heat, not indecency) when it’s added to the milk.  You stir it each time you add a tablespoon.  Once you’ve added about a half cup of milk in, pour the yogurt/milk mixture into the pot of warm milk.

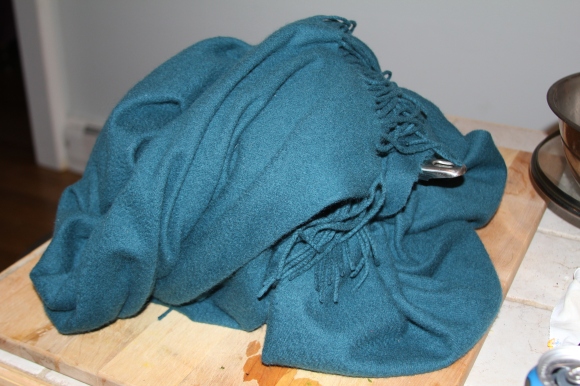
Wrap the pot in a blanket or towel and place in a warm area in the kitchen (but not a hot oven!).  Let the mixture sit for 6 to 8 hours.  You can see it’s done when the top of the mixture has solidified.
Place the clean cheesecloth over the mixture, make sure not to push on the top, just rest it there.  Place in the refrigerator.  For the first three days, ring out the cheesecloth, rinse it under cold water and place it back on top of the yogurt.  Repeat this process twice a day for the first three days.  After the three days, keep the cheesecloth on the yogurt, but only ring and rinse once a day.  In addition, the yogurt is ready to eat after the first three days but the more water you pull out, the thicker the yogurt will get.

As you get towards the end of your batch of yogurt, save some for the next batch, so that you can keep regenerating that same culture.

If you’re going to add any additional flavors, make sure not to contaminate your clean batch of yogurt.

Enjoy the tangy taste of this home made yogurt.  Smear it on Arabic break, make tzatziki, plop into a smoothie, go crazy with it.

Tagged , , , , ,

Recipe: Vegetable Lo Mein

My favorite thing about my husband is that he takes our family recipes and makes them taste even better. He just has this knack.  One of the dishes he really makes well is vegetable Lo Mein.  It’s the opposite of what you get at Chinese restaurants, all the vegetables are crisp, the noodles are al dente, and the dish isn’t dripping with oil.  It’s pretty healthy too. You can add any veggies and proteins you want to the dish, it’s very versatile.

Ingredients

Carrots

Snow peas

Mushrooms (mostly Baby Bellas and a handful of shitakes)

5 Eggs

Chinese Noodles

2 Scallions

1 garlic clove

Sesame Oil

Rice wine

Soy Sauce

Instructions

Julienne carrots and snow peas.  Chop scallions and garlic.  Slice the mushrooms.

Cook noodles (use a good handful) like you would pasta, until the noodles are al dente. Make sure to rinse noodles with water when they are done so that you remove the starchiness.

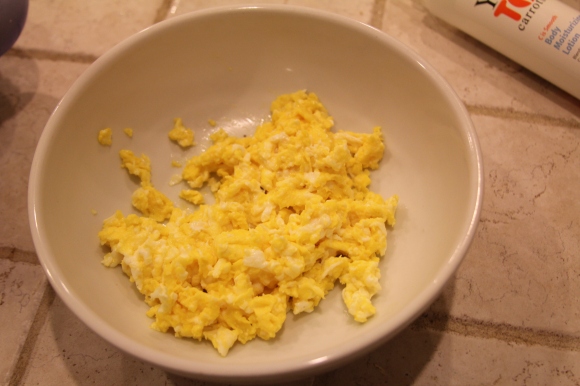
Scramble eggs in a pan or wok. Add a dash of salt and white pepper.  Cook and place in separate bowl.

Change to high heat.  Add some vegetable oil to the pan and cook the mushrooms until they start emitting some liquid (about 5 minutes). Add some soy sauce, cook for another 1 minute and a half.  Set aside in a separate bowl.

Add a little bit more oil to the pan, add carrots, and cook for 5 minutes.  Add snow peas, scallions, and garlic. Stir all ingredients frequently so that garlic doesn’t burn. Add noodles, mushrooms, and eggs. Mix everything together. Add a generous amount of soy sauce, but add in small batches so you don’t overtake the dish with soy sauce.  Add a 1/2 tablespoon of sesame oil.  Add 1 tablespoon of rice wine.  Keep mixing and add soy sauce until you achieve a flavor/saltiness level that you want.

Serve. Add Sriracha for additional tastiness.


Tagged , , , , ,

Recipe: Duck Congee

Duck Congee was on a regular food rotation in our house growing up.  I have always loved it. My mother would make it whenever we had left over Peking Duck and I would always end up eating the majority of it, much to my little brother and sister’s dismay.  As you can see, I’ve always had a big appetite.  This past weekend we were in Long Island and my mom hooked me up with some left over roast duck.  This is serious comfort food, it’s warm, filling, and so tasty since the duck flavor infuses the rice stew.
Ingredients

Short grain rice


Canola oil

Roast duck – we used about half a duck (just pick some prepared roast duck at a Chinese restaurant)

Bok Choy

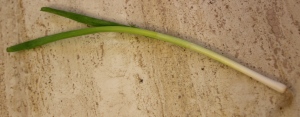
Scallions

Salt

White pepper

2 garlic cloves

Instructions

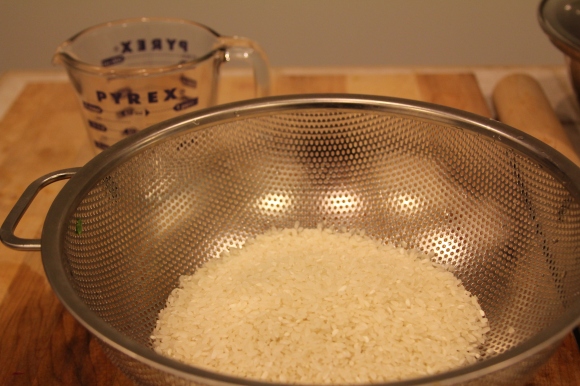
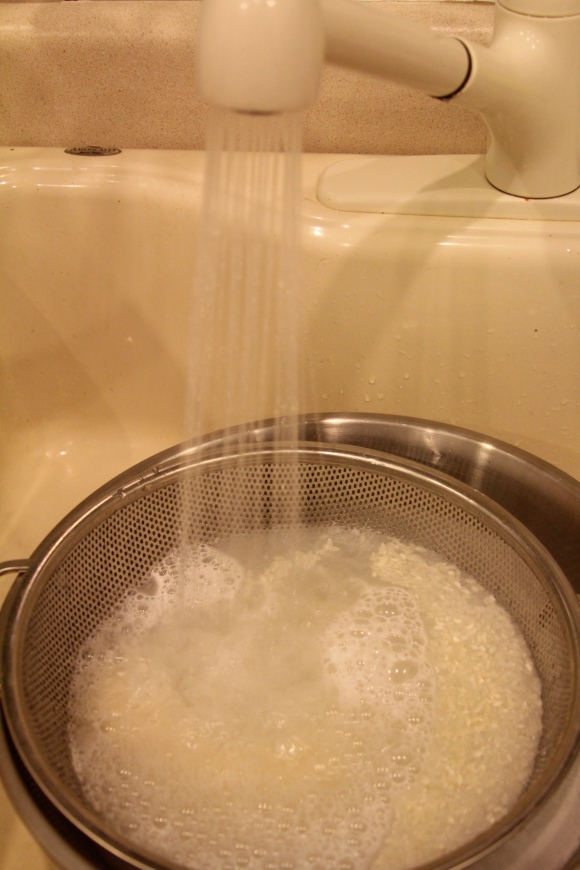
Use a cup and a half of rice.  Rinse thoroughly.

Use a large sauce pot, put in rice and 1 tablespoon of canola oil.  Add a lot of water, we filled the pot halfway up with water.  Start with medium high heat, when water boils reduce heat to low.  Cook the rice for about 20 – 25 minutes.

Add duck.  Cook for another 25 minutes.

In the meantime, clean and wash bok choy.  Chop finely, should have about 2 cups of chopped bok choy.  Mince two garlic cloves.  Use a saute pan, add some oil, add the garlic.  After two minutes, make sure not to burn the garlic.  Add the bok choy, saute for 5 minutes.  Add in to duck congee and mix.

At this point, you will want to add salt and white pepper to taste.  Serve with chopped scallions.  Enjoy!

Tagged , , , , ,

Recipe: Tomato Sauce

J grew up next to a woman straight from Italy.  She is so wonderful, warm, generous, funny, and a fabulous cook as well. She is the genius behind an amazing Tomato sauce.  So J decided to take advantage of the bountiful amounts of fresh plum tomatoes at the Syracuse farmers market and decided to make her fresh tomato sauce.  I have to admit, I was a little iffy about it at first because I have a lot of expectations for sauce.  It needs to be well-rounded, and the flavors need to be balanced. It needs to taste fully but tangy.  I like a little texture to it as well.

I know he’s my husband but DANG the sauce he made met all of my criteria and surpassed them.  He served it to me over some al dente spaghetti and I was licking the bowl after I ate all the pasta.  His neighbor gave him this recipe and I wanted to share it with you!

Ingredients

8 quarts Roma Tomatoes

1 large Vidalia onion or 2 small – medium onions

4 garlic cloves

1/2 – 3/4 cup extra virgin olive oil

3 cans of Hunt’s tomato paste

1 Italian pepper

1 handful of fresh basil

Salt and pepper to taste

Instructions

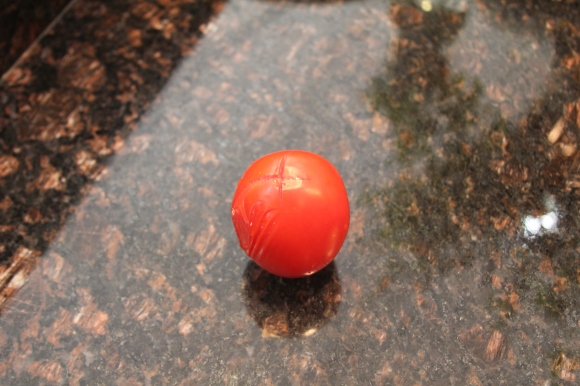
Wash tomatoes and then crosshatch the bottom of each tomato (not too deep, just enough to score the skin.

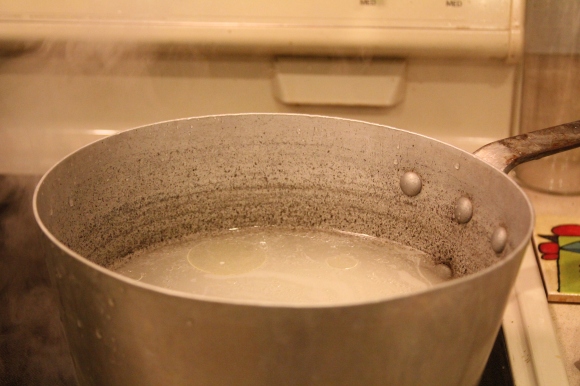
Bring a large pot of water to boil.  Drop in tomatoes (in small batches) in water for about a minute. Use a slotted spoon to pull them out. Set them aside. Repeat until all tomatoes have been boiled.  This loosens up the skin so you can easily peel off the skin off all the tomatoes.  Once all tomatoes are peeled, set them aside.

Chop the onion and garlic.  In a big soup pot, bring oil up to temperature (using medium high heat).  Add chopped onions.  Cook until soft and golden, approximately 12 minutes.  Midway through, add chopped garlic.  Be careful not to burn onions or garlic.  After the 12 minutes, add all the tomato paste and stir frequently for 3 – 4 minutes.

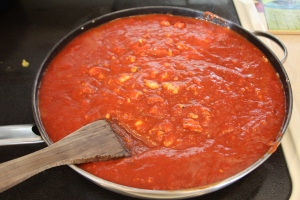
Add tomatoes (either rough chop before) or give each tomato a big squeeze before adding into pot.  Turn heat down to medium.  Stir frequently to avoid burning the bottom of the pan.  Cook for 1 and 1/2 hours.

Seed and cut pepper in half (lengthwise).  Add to pot.  Rough cut basil and add to pot.  Add a bit of salt and pepper, but don’t overdo it because sauce will continue to reduce.  Continue to cook for another 1 – 2 hours, until you see oil appear at the top layer.  Once that happens, the sauce is done.

This makes A LOT of sauce, so jar it up and enjoy!

Tagged , , , , , ,

Friday Addiction: Potato Chip and Peanut Wrap

Yes you read that title right – a potato chip and peanut wrap.  This is J’s guilty pleasure snack.  He loves to make these sandwiches, it really combines three of his favorite things to eat. He loves the creaminess of the peanut butter contrasted with the salty, crunch of the chips.  “A perfect delicacy” in J’s words.  He’s kind of a glutton for peanut butter, would probably eat a dirty sponge if it was dipped in peanut butter.  He and his family eat  Syrian flat bread (usually it’s from Cananda) with EVERYTHING! Really!  For example, I have seen: Syrian bread wrapped around breakfast sausage, spaghetti and meatballs, fresh vegetables; anything they can wrap that bread around, they will eat it that way.

So if you are feeling like you want to try a brand new sandwich, here’s what you need:

Bread of your choice

Peanut butter (J uses natural peanut butter from the Honest Weight Food Co-op to give it that patina of healthiness)

Ruffle potato chips (but really any potato chips would do)

Instructions:

Spread peanut butter on bread. Layer on the chips. Smoosh the two sides a tiny bit.  Enjoy.
Tagged , , ,

Recipe: Quiche Lorraine

So my mother in law made an awesome quiche lorraine (cheese and bacon) for us when we were in Syracuse this weekend. It was light and a bit creamy and the flavor of the cheese and bacon both stood out. Here’s the recipe (this is not for someone who is dieting):
Pastry Recipe from “Delia’s Complete Cookery Course”

Ingredients

4 oz. plain flour

1 oz lard

1 oz butter

a pinch of salt

cold water, to mix

Pastry Instructions

Sift the flour and salt into a large mixing bowl, holding the sieve up as high as possible to give the flour an airing.  Then cut the fat into small cubes and add them to the flour.  Now, using your fingertips, lightly and gently rub the pieces of fat into the flour – lifting your hands up high as you do this (to incorporate air) and being as quick as possible.

When the mixture looks uniformly crumbly start to sprinkle roughly 2 tbl. of water all over.  Use a round-bladed knife to start the mixing, cutting and bringing the mixture together. Carefully add more water as needed, a little at a time, then finally bring the mixture together with your hand to form a smooth ball of dough that leave the bowl clean (if there are any bits that won’t adhere to it, you need a little bit more water). Let the pastry rest in a plastic bag in the fridge for 20 – 30 min.

Use a 8 inch lightly-greased quiche tin.  Preheat oven to 350 degrees with a baking sheet on the center shelf.

After the allotted time, take the pastry out and roll it out and line the tin with it, easing any overlapping pastry back into the sides if you can.  Press firmly (be careful) on the based and sides, then prick with a fork all over.  Bake for 15 min., remove from oven, and paint the entire inside of the pastry with a some beaten egg.  Pop it back into the oven for 5 more minutes.

Filling Recipe from “A Treasury of Great Recipes by Mary and Vincent Price”

Ingredients

1/2 lb. bacon

1/2 lb. Gruyere cheese

8 egg yolks

2 cups heavy cream

1/4 teaspoon salt

1/4 teaspoon dry mustard

1/8 teaspoon freshly ground pepper

Filling Instructions

Cook the bacon in a skillet until golden and crisp.  Drain on absorbent paper. Crumble and sprinkle into partially baked pastry shell.  Dice the cheese and add into shell.  Combine the eggs, cream, salt, dry mustard, and black pepper, and mix well.  Pour mixture into the shell.  Oven should be at 350 degrees.  Bake for approximately 45 minutes.

Your stomach will thank you, your arteries, not so much. But hey, if you eat small portions then it’s not so bad right? That’s what I tell myself, but the problem is when you’ve had five or six small portions, it kind of defeats the purpose.

Tagged , ,

Don’t eat this on a date

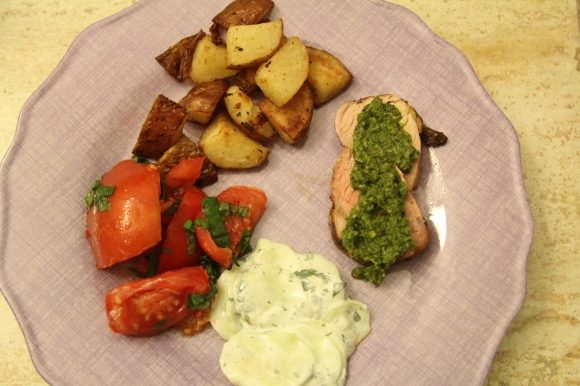
I tried making my own chimichurri sauce (an Argentinian condiment) years ago and wasn’t very impressed. But then J broke out his own recipe for the sauce, and I remain to this day, very impressed. I request the sauce alot and I love it on grilled pork tenderloin that J also marinates in the chimichurri.  I also made a delicious discovery when dipping a nice, crisp roasted potato in the chimichurri.  Pretty much anything is good with it, just don’t eat it on a date because all of the green parsley and cilantro will get in between your teeth and you’ll also be emanating strong garlic odors.  Don’t say I didn’t warn you.

Ingredients:

2 bunches of parsley

1 bunch of cilantro

10 – 12 garlic cloves, chopped

1 jalapeno pepper

1/2 tablespoon crushed red pepper flakes

1/2 tablespoon oregano

1/3 to 1/2 cup of red wine or sherry vinegar (to taste)

1/3 to 1/2 cup of extra virgin olive oil (to taste)

1 tablespoon of lemon juice

Salt, black pepper

The juice of 2 limes

Instructions:

You will need a food processor.  First throw in the garlic, jalapeno pepper, and vinegar (start with a 1/3 cup) and pulse until mixed and chopped finely.  Add in everything else, with the olive oil, start with a 1/3 cup and add more if preferred.  Pulse until a nice paste is created.  The chimichurri shouldn’t look dry but shouldn’t be soupy either.  It should have a thick consistency.  Keep tasting, add more olive oil, lime juice, or vinegar if you’d like.

The sauce is good for about a week in the fridge.

Put this sauce on anything and it will taste so good, you’ll want to do shots of it.

Tagged , , ,

Recipe: Cold Sesame Noodles (Warning: You will become addicted to these)

Okay think about the sesame noodles you get at Chinese take out places. The noodles I’m going to tell you how to make are about 1000 times better than those.  With these noodles. you might not be wowed at the first bite. But keep eating and you’ll see, they’re kind of ninja like in how they sneak up on you and then all you want to do is keep eating them.  You won’t stop until you’ve stuffed every last bit of noodle into your mouth.  And then you’ll want more.

Cold Sesame Noodles (recipe courtesy of my mother, one of the greatest cooks of all time)

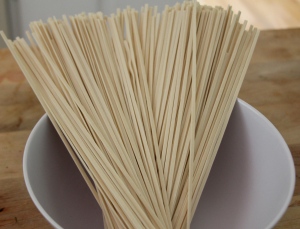
Dried Chinese Noodles

Kikkoman Soy Sauce

White Vinegar

Sesame Oil

Scallions (1 piece or more depending how much you’re making)

Sriracha (only for those who can take it)

Cooking Instructions:

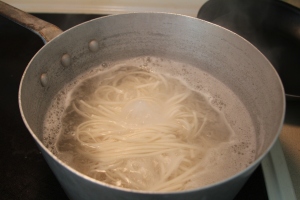
Boil water for noodles.  Just like you’re making pasta, have enough water to cover the top of how ever much noodles you’re making.  Once water boils, take a handful of noodles (again adjust to your preferred amount) and throw them in the water.

Turn heat to medium high.  Stir the noodles around, make sure you’re separating them in the water so they don’t stick together.  Let noodles cook for approximately 8 – 10 minutes.  Check around that time to see if the texture is right.  Should be a little chewy, and not too mushy.

Drain noodles in a colander. Rinse noodles with cold water.  Stash noodles in fridge to cool. Can be made a few days ahead of time.

When noodles are sufficiently cold enough, take them out. You can dress them now.  Start with the sesame oil first.  Drizzle oil onto noodles, making sure you’re not drenching the noodles but just about coating them.  Mix the noodles around (I like to use chopsticks, they seem the easiest tool to use to mix the noodles around) Then drizzle the noodles with the soy sauce.  Again, don’t drench them but use enough soy sauce so that the noodles are a nice brown color.  Pour 1 – 2 capfuls of the white vinegar onto the noodles. Mix.  Taste.  If you like it saltier, add more soy sauce. If you want more tang, add more vinegar.  But ideally you should have a nice balance of salt and a slight tang to the noodles.

Chop up 1/2 – 1 stem of scallions. Mix them into the noodles.

Add the Sriracha. The Sriracha really kicks up the flavor of the noodles so I highly suggest it.

Voila! Dive in!

Just a note. If you put the dressed noodles in the fridge, just make sure to add more of the 3 sauces whenever you’re ready to eat them again because the noodles tend to soak up the sauce.

Tagged , , , , ,

The Best Lasagna Recipe

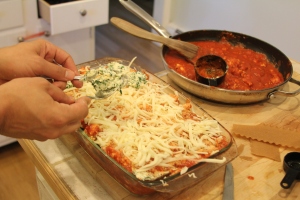
A few years ago we discovered the best recipe for lasagna, and then we made it even better.  It is gooey, cheesy, and saucy, all the essential elements of a perfect lasagna.

You can find it here on the Epicurious website:  Turkey Sausage – Spinach Lasagna with Spicy Tomato Sauce

Make the following changes to the recipe:

Cut the sausage to 1 lb. (it can be regular sausage/turkey/or chicken, for best results however use Sindoni sausage, which can be found at Pricechopper)

Substitute mozzarella cheese for the Provolone

Forget making the spicy tomato sauce, and make your life easier and buy some Casa Visco Spaghetti Sauce (2 small jars or the 64 oz. jar)

1 tsp. of crushed red pepper flakes

1 eggplant

Recipe Directions:

Prepare the eggplant first as it will be used to layer in the lasagna.

To prepare the eggplant:

Cut into 1/4 inch horizontal slices

Layer on a cookie sheet pan

Sprinkle with salt and pepper

Drizzle 2 tablespoons of extra virgin olive oil

Use your hands to make sure both sides of the eggplant are coated with olive oil, salt, and pepper

Pop into a preheated 375 degree oven for approximately 15 minutes or longer, once soft, they’re done.

Proceed with the recipe.

Add the red pepper flakes to the sauce and sausage when simmering them together.

When layering the noodles, cheese, and sauce, add eggplant after the 2nd layer of noodles and sauce. Then sprinkle the mozzarella cheese on top of the eggplant.  Continue following the recipe, finishing off with the dollops of the ricotta/spinach mixture.


Note:  when layering, depending on the depth of your casserole dish, you may want to apply some light pressure to the noodles to give yourself more space.

Enjoy – the recipe makes A LOT of lasagna.  You will eat every last bite of it.

Tagged , , , , , , ,